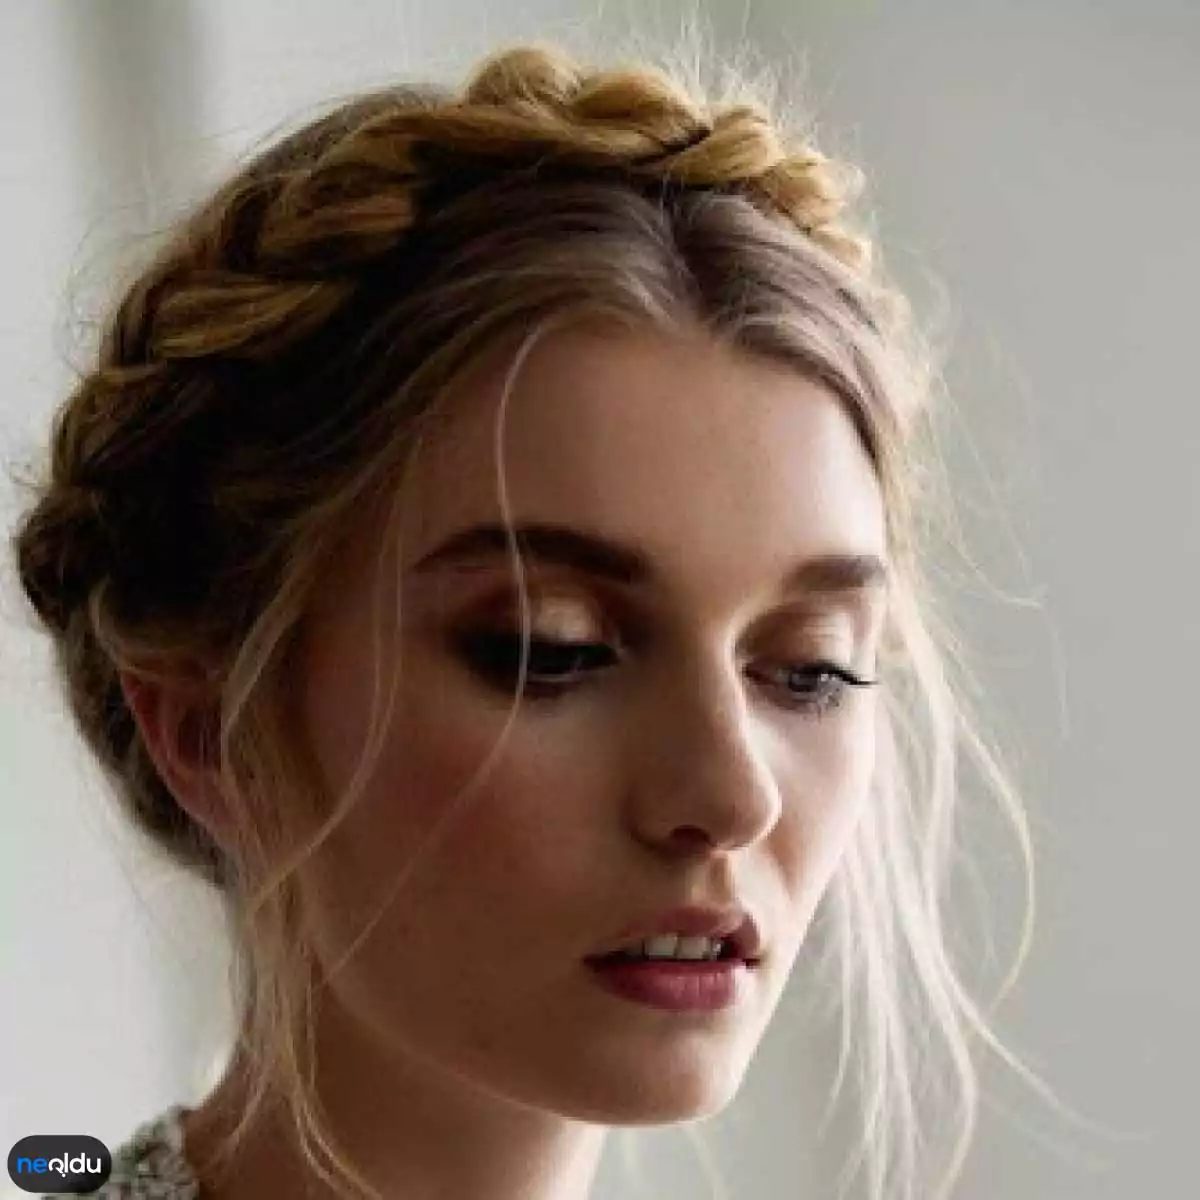
Hair trends change with the seasons, but certain styles stick around because they work. They are practical. They look good on almost everyone. The milkmaid braid is one of these classics. It’s simple, but it lifts a tangled knot or loose waves in no time.
But if you’ve tried to replicate it from a photo, you might have ended up with something that looks more like a tangled knot than a sleek updo. The problem is usually not the hair, but the technique.
What is a milkmaid braid?
At its core, the milkmaid braid consists of two braids crossed over the head. Think of it as a crown. It is not a single complex braid. They are two separate braids that meet in the middle creating a woven effect on the scalp.
The name comes from the traditional pastoral imagery, but the modern style refers less to history and more to versatility. You can keep it tight against the scalp for a groomed look or wear it loose for an effortless ‘I just woke up like this’ feeling.
Why choose this style?
It requires little maintenance. Once it’s in, it stays. You don’t need constant adjustment. It keeps hair out of your face without the heat damage of a flat iron or the tension of a high ponytail.
Works on all hair types. Thick hair? You need more pins. Thin hair? It might slip, but a little texturizing spray will fix that. Curly hair? It holds its shape beautifully, especially when you take advantage of its natural volume.
The Setup
Start with the hair the day before. Freshly washed hair is too slippery. The natural oils give you grip. Once your hair is clean, use dry shampoo or texturizing powder at the roots. This increases friction. The friction keeps the braid in place.
Part your hair down the middle. This is non-negotiable in terms of a classic look. You need symmetry. Use the tail of the comb to create a clean line from forehead to nape.
Step 1: First braid
Take a section of hair from one side. It doesn’t have to be huge. A medium portion works best for most people. Too thin and the braid will disappear into the rest of the hair. Too thick and you’ll have trouble controlling it.
Start with a simple three-strand braid. Tight or loose doesn’t matter. Focus on consistency. Keep the tension even. If you pull too hard, it will hurt. If you pull too loose, it will fall apart. Find a middle ground.
Braid it all the way to the ends. Secure the bottom with a small, clear rubber band. Don’t worry if it’s not perfect. It’s all about the foundation.
Step 2: Second braid
Repeat the process on the other side. Same size section. Same technique. Try to match the length of the first braid as accurately as possible. If one is shorter, it will look uneven at the cross.
Step 3: Cross
This is the moment of truth. Take the right braid and bring it over the head to the left side. Pin it in place. Then take it
The foundation of every good braid starts with a simple split. You start by parting your hair straight down the middle. It’s not just about symmetry; It’s about creating a clean canvas. Once this key part is decided, the real work begins.
Take the hair from one side and divide it into three equal strands. Do the same on the other side. You now have two different parts ready for weaving. The technique itself is classic: cross one strand over the middle, then another. Pull it tight, but not tight enough to give you a tension headache. Repeat this rhythm for the entire length of your hair.
The milkmaid braid is not so complicated but more consistent. Keep the tension even from root to tip.
When you reach the end, secure it with a small rubber band or decorative knot. This simple closure defines the style. It keeps stray hairs at bay and adds a touch of rustic charm.
Why choose the Milkmaid braid for summer?
This style is not only on trend; it is practical. It works on many hair types and lengths, although medium length hair seems to be its natural home. Short hair can work if you like little rubber bands, and long hair offers plenty of material to play with.
The main incentive? Temperature control. The summer heat makes loose hair feel heavy and sweaty. This braid keeps hair off the face and neck. You stay cooler. You look put-together with little effort.
It is also versatile. You can leave it loose for a bohemian touch or tighten it up for a cleaner look. The ends can be left free, twisted or tied. This flexibility makes it a reliable option on hot days.
How to master the technique
Start with dry or slightly damp hair. Wet hair is more difficult to manage and can stretch, making the braid look sloppy when it dries.
- Part the hair in the middle. If necessary, use a rat tail comb for accuracy.
- Divide each side into three parts. Left, center, right. Repeat on the other side.
- Braid Down. Cross the right strand over the middle, then the left strand over the middle. Keep the strands flat against your head.
- Attach the ends. Use a clear rubber band for a subtle finish or ribbon for a pop of color.
Don’t worry if it’s not perfect on the first try. Braiding is a muscle memory skill. It takes practice to keep the tension constant. Pulling too hard can cause discomfort. Pulling too loosely can cause the braid to break. Find that middle ground.
Styling tips for a polished look
Once the braids are done, you can adjust them for different effects. Add volume by gently pulling the outer loops of the braid. This creates a softer, more romantic silhouette. It also hides any gaps if your hair is slippery.
For a more structured look, keep the braid tight and neat. This works well for formal events or professional functions. The most important thing is to adapt the style to the occasion.
Consider adding accessories. Flowers, pins or ribbons can enhance the look. They add personality without changing the core technique. This is especially effective in the summer
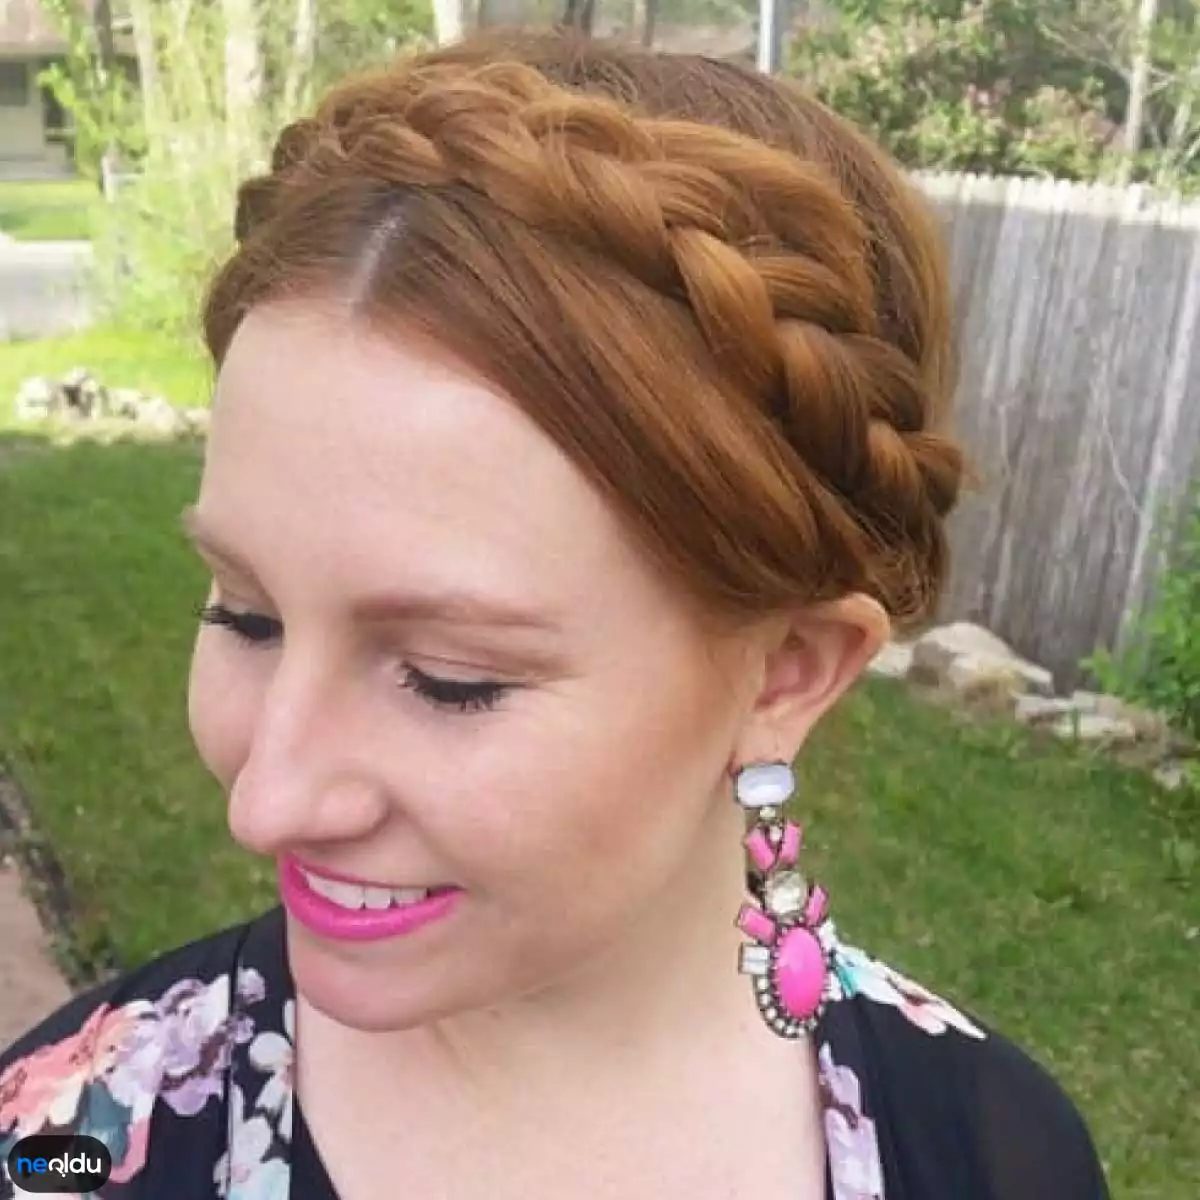
The mechanics of the traditional milkmaid braid
Before you even pick up a comb, there is one absolute rule for this look: your hair must be clean and thoroughly detangled. Frizz is the enemy here. You want smoothness.
Start by parting your hair down the middle. Take some from one side, then the other. These are your working materials. Divide each part into two parts. No, not three. Two. You cross them over each other in a simple flat braid.
Once both sides are braided, connect them at the nape of the neck. Attach them to a low bun. Fasten it tightly. That’s the foundation. If the base is loose, the whole structure collapses.
Shape the silhouette
The bun shouldn’t just sit there. It needs a shape. Take a few loose strands from the braids you just made and wrap them around the bun. This will hide the pins. It adds volume. It transforms a messy ponytail into a conscious style.
The right accessories are more important than you think
People obsess over the technique but ignore the hardware. This is a mistake.
Traditionally, this style calls for something minimal. A simple, stylish hairpin. No rhinestones or heavy metal. You want the braid to be the star and not an accessory.
If you use pins to fasten the bun, match them to the color of your hair. Dark hair gets dark bobby pins. Blonde hair gets blonde or transparent ones. The goal is invisibility. If someone sees your pin, the illusion is broken.
Find variations on classic milkmaid braids
Although the traditional version is solid and classic, the basic structure allows for numerous changes. You don’t have to stick with a strict two-strand braid if you want something softer.
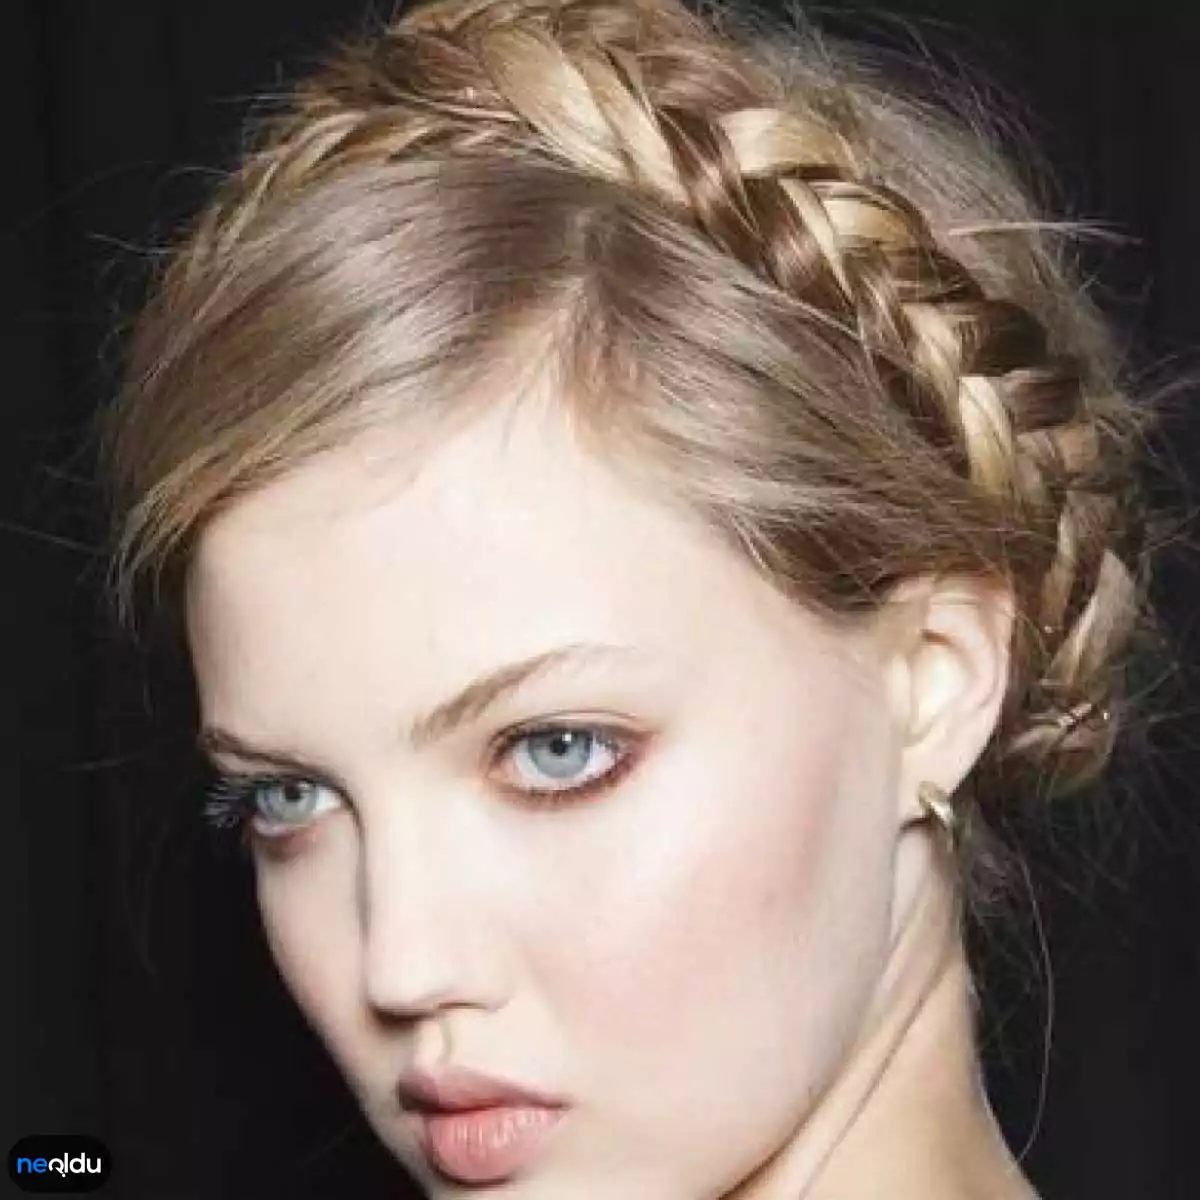
There’s something quietly rebellious about a messy braid. It means you’re ready for anything from a spontaneous trip to the beach to a long afternoon of running errands without spending 20 minutes in front of the mirror. Sütçü Kız saç örgüsü (literally “Milkmaid Hair Braid”) has become a staple for good reason. It’s the kind of hairstyle that looks effortlessly chic while also being one of the most practical options for warm weather.
Which Sütçü Kız braid style suits your hair?
Although the name suggests a certain traditional look, the execution is surprisingly flexible. You are not tied to a rigid model. The most common variations are:
- Single Classic Braid: One braid at the back. It’s clean, simple and timeless.
- Double Dutch or French: Two braids pulled back from the temples. This keeps hair safely away from the face and neck, which is a lifesaver when the humidity is high.
- Side-swept braid: Often one braid is pulled over one shoulder. It feels more romantic and less structured than a symmetrical double braid.
The beauty of this style is its adaptability. Whether your hair is jet-black, honey blonde or dyed bold, the structure of the braid holds the color beautifully. It brings out dimension in a way that loose, flat hair often can’t.
How to get the look without the frizz
Sütçü Kız saç örgüsü is popular not only because of its appearance, but also because it is easy to care for. Does not require continuous styling products or heat tools. However, “low maintenance” does not mean “no preparation”.
The secret lies in the type of hair and the shape of the face. If you have fine hair, the braid can slide off quickly. A light texturizing spray before braiding can give your hair the hold it needs. If you have thick, curly hair, you may need to dampen it a bit or use a leave-in conditioner to avoid the “puffiness” that can turn a sleek plait into fluffy halos.
For everyday wear, this style is forgiving. It covers unwashed hair (a big plus on vacation) and keeps strands away from the neck. But there is no one-size-fits-all solution. Round faces can benefit from the fullness of a loose, pulled-apart braid, while oval faces can easily wear tight, neat braids.
Care and maintenance tips
Keeping your braid fresh requires a little more than just tying it. Here’s how it stays intact and healthy:
- Prep the Canvas: Never braid dirty, dry and brittle hair. Clean, well-groomed hair glides more smoothly into braids. Use a detangling brush before you start.
- Texture is key: Smooth hair can be slippery. Add a little sea salt spray or dry shampoo to the roots to give hair hold and hold. This will help keep the braid in place and give it a lively, “just woken up” feel.
- Don’t pull too tight: Too tight a braid can cause traction alopecia
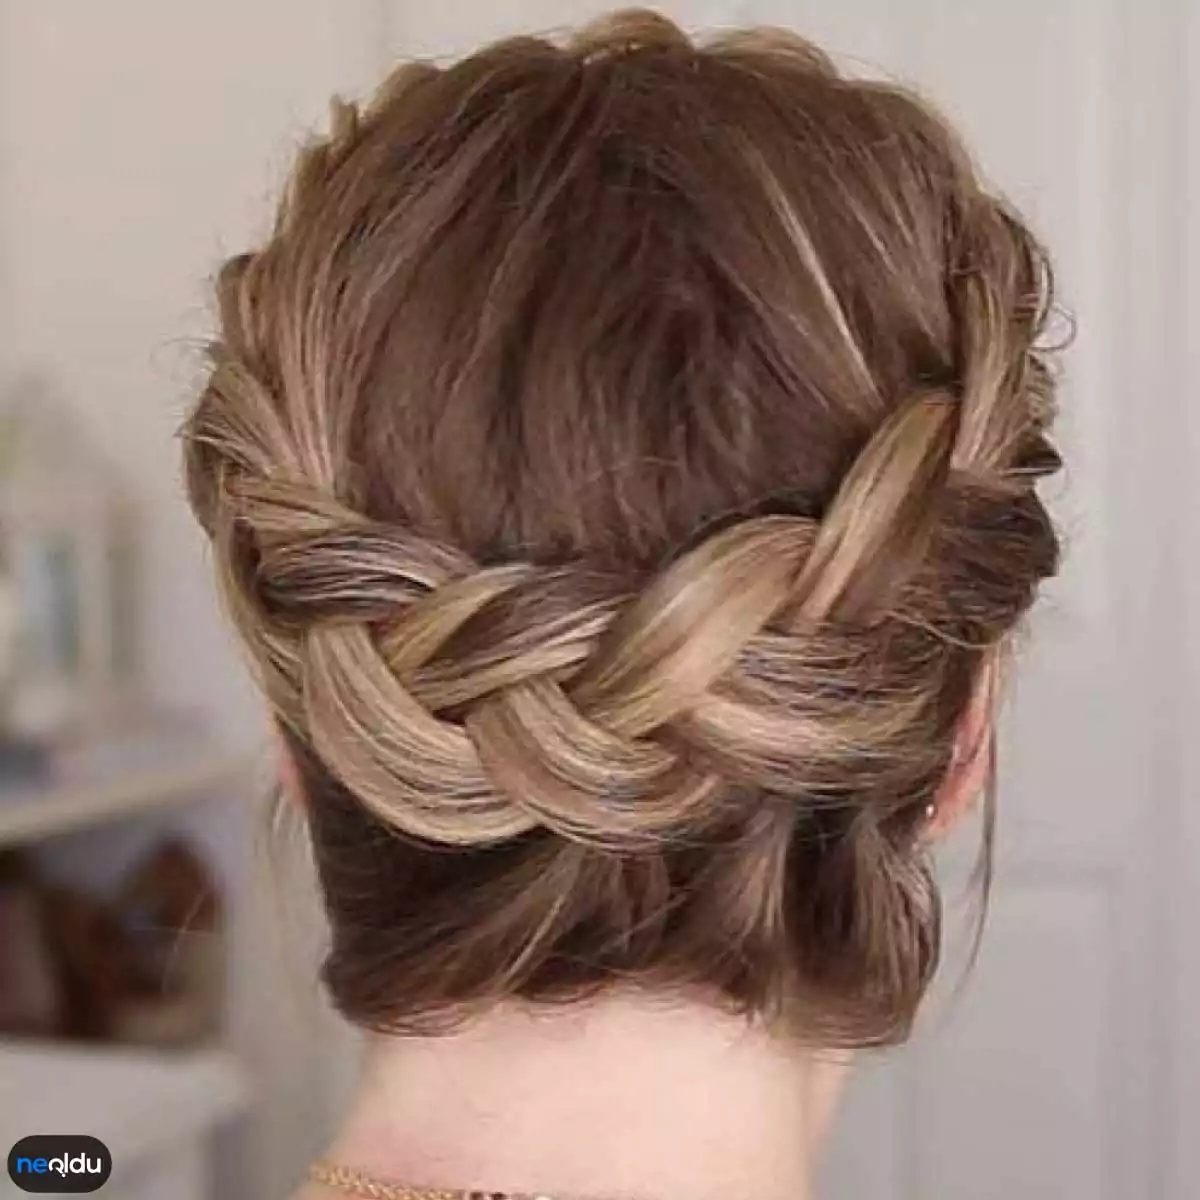
Milkmaid Braid Care: A Realistic Guide
The milkmaid braid (Sütçü Kız Saç Örgüsü) has quickly become a modern style staple. It’s attractive, versatile and looks effortlessly stylish. But let’s be honest: braids aren’t a set-it-and-forget-it approach. They pull on your hairline and scalp. If you want to keep your hair healthy with this look, you need a strategy. It’s not just about style; it’s about maintenance.
Prepare your hair properly
Start with a clean slate. Wash your hair before braiding, but don’t skip the conditioner. Focus on the ends. These are the oldest and most fragile parts of your strands and require special attention to prevent them from breaking under the tension of the braid.
Detangling is non-negotiable. If you try to weave through the knots, you will only cause more damage. Use a wide-toothed comb or detangling brush to make sure each strand is smooth. Straighten the braids neatly. Messy hair is difficult to braid and breaks.
Protect style while you sleep
You spend eight hours a night rubbing your hair against cotton. This friction is the enemy of every braid. Switch to a silk or satin pillowcase. It significantly reduces friction, so the braid stays intact and your hair is not frizzy in the morning.
When traveling or sleeping on a regular sheet, wrap your head in a silk scarf. It’s a small step that makes a big difference in keeping your hair.
The Wash Day Dilemma
Can you wash your hair with a braid? In general, no. Soaking a tight braid can lead to mold or simply a very messy, wet mess when you take it out. Instead, focus on the scalp. Use a cotton pad dipped in a little dry shampoo or diluted vinegar to gently clean the roots. This keeps the scalp fresh without disturbing its structure.
And avoid heat. No hair dryer, no straightener, no curling iron on the hairstyle. Tension combined with heat is a recipe for breakage.
Brushing with Intention
Brushing the braid requires sensitivity. They don’t try to smooth out every kink; They try to avoid problems. Use a soft brush or your fingers. Never pull or forcefully pull. If you feel resistance, stop. Pulling hard on the braid’s anchor points pulls the hair out from the roots.
Check the braid regularly. A few days after installation, pull it gently. If it hurts, loosen it. The tension should not be painful. It should be safe and not restrictive.
The pros and cons of the Milkmaid Braid
It’s a popular style for a reason. It holds up. It looks put together. But it is not without risk.
Advantages
- Durability: Because the hair is woven tightly around itself, it stays in place all day. No flyaways, no slipping.
- Speed: It’s easier than complicated crown braids. You can put this together in minutes if you’re running late.
- Aesthetic: Frames the face beautifully. It’s a must for weddings, parties or just when you want to look well groomed.
- Longevity: With proper care it can last for several days.
- Versatility: You can easily reshape it or take it off and reshape it.
Disadvantages
- Traction Risk: Excessive tension can cause hair loss over time. This is true hair loss caused by constant pulling.
- Discomfort: A tight braid can cause a headache. If you feel pressure, take it off.
- Shedding: You may notice more hair in the shower or brush when you remove it. Some hair loss is normal; Excessive loss is a warning sign.
- Maintenance Issues: Once it’s in place, it’s hard to handle. You can’t just run your fingers through it and go.
- Detangling Hassle: Removal requires patience. Hasty removal leads to hair breakage.
Who is this style for?
Almost anyone can wear a milkmaid braid. Thin hair could benefit from a slightly tighter weave and texturizing spray to give it hold. Thick hair may require more time and patience to braid evenly.
Length matters, but not as important as you think. Shoulder-length hair is the sweet spot. Anything shorter can be difficult. Anything that takes longer gives you more material to work with.
How long will it take?
If you are experienced, it will take about 20-30 minutes. If you’re learning, give yourself an hour. Patience is the key to a clean finish.
How to achieve the look
- Separation: Brush your hair thoroughly. Divide it into three parts at the back.
- Plaining: Braid each section in place. The tighter the braid, the clearer the final look.
- Combine: Bring the braids to the top of the head. Cross them over each other to create a circle shape.
- Secure: Pin the ends together. Use bobby pins that match your hair color. Hide the pins inside the braid for a seamless finish.
It’s a style that demands respect for your hair. Wear it because you love it, not because you have to. And when you take it off, treat your hair with a deep conditioning mask. Your strands will thank you.